Try saying that 3 times fast!! (Click
here if you want direction son how to create your own photo pumpkins)...

As I was going through old family photos
(thinking some might make cute Halloween blog banners), I got a bright idea for a Halloween decoration… Photo Pumpkins!
(I love the one of Frankenstein holding the girls up by their ponytails!! Needless to say, it's the girls that are family, not Frank:)
 (click on any photos to enlarge)
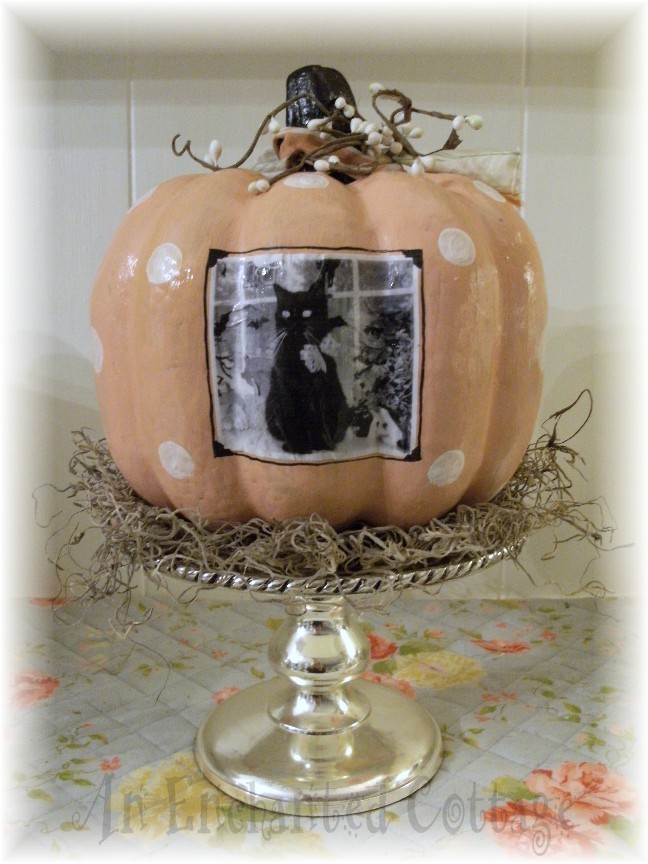
So I printed out some favorites of my girls and my Halloween kitties, painted up some pumpkins, and voila!

I made them double-sided, putting photos on both the front and back of the pumpkins. On one of them I used my photo software to change the color pictures to black & white

They look nice arranged in a group, but they really take center stage when displayed alone
(especially on a pedestal dish with some Spanish moss!)…

I made one for each of the girls and one for me
… I painted them in three of my favorite cottage colors – creamy white, soft green, and pale robin’s egg blue, but they could be done in any color.

Tomorrow I’ll share how I made mine in case any of you would like to try this project…
And don’t forget – you have until midnight tonight to enter the
autumn/Halloween giveaway. Good luck to everyone who enters!
Comments update... Wow! Thank you so much for all the compliments on my photo pumpkins! I had one comment request, asking me to list the supplies today since the instructions will be posted tomorrow (good idea!!). So here are the specific supplies/brands I used (but definitely adjust to fit your needs - different sized pumpkins, different paint colors, etc.)
1)
Fake pumpkins (mine were from Wal Mart: tall pumpkin 5" across/8" high; short pumpkin 7"across/5"high
(I would have bought white or black pumpkins if I could have found them but had to settle for orange, which is a harder color to paint over); 2)
Family photos (sized down to fit pumpkins and printed out on my HP ink jet); 3)
Sealer (Delta all purpose craft sealer) You can skip this if you are not changing the background color of your pumpkin; 4)
Acrylic craft paints (whatever colors you choose... I basecoated all my pumpkins Black (for distressing purposes) before painting the 'finished' colors... I used Delta Light Ivory, Delta Village Green, and My Studio Robin's Egg Blue (mixed with Light Ivory), and black for stems and decorative trim around photos; 5)
Brushes (foam brush for overall painting, medium round for easily painting around stem, long liner for painting decorative trim around photos); 6)
Decoupage Finish (Plaid Royal Coat); 7)
Varnish (Delta Gloss Varnish); rag strips or ribbon for stems (optional)...
See you tomorrow!!
Donna